DISCLAIMER: This post may contain affiliate links. All this means is that if you click the referral link, sign up for an account, and ultimately purchase an item, I receive a small commission at no extra cost to you. All finds received go right back into this website.
If you’re a blog or business owner, then you probably use Instagram on the reg. You probably also know that the Instagram bio only allows one link for you to use, which can be a challenge for bloggers with multiple posts. There was a seemingly glorious solution to that issue with the release of LinkTree, and it seemed everyone was using it (including myself for a while). LinkTree allowed you one url where you could add multiple links inside it. Problem solved, right? Recently, however, it has come to my attention that Instagram doesn’t really like LinkTree, and that’s a problem for a lot of people. Because of this, I think it’s super important to have your own Instagram links landing page, and there are some added perks to this as well. One such advantage is the fact that you gain pageviews to your website by doing so!
The use of a third-party program like LinkTree, means that every time someone clicks that link, they are directed to LinkTree’s site first instead of yours. By creating your own landing page, you get all the initial traffic and pageviews using your own landing page with Instagram links that you would have lost using a third party service. Which is why today, I would like to show you exactly how I made mine, so that you can do the same! I will tell you up front, that the plugin that I use, Essential Grid from Code Canyon, is one that you buy. In my opinion, it is really worth it because this plugin is fully customizable with TONS of features. Read on for details on how I made my Instagram links landing page. Side note: This tutorial will only work if you are self-hosted WordPress.
HOW TO MAKE YOUR OWN INSTAGRAM LANDING PAGE
Step 1:
Go ahead and create a page through your dashboard. You can customize this page to look the way you’d like! You can title it “Instagram Links” or something like it.
Step 2:
Go to Code Canyon and search for “Essential Grid” by themepunch. Once you click on it, it will take you to the page that tells you about the plugin. You can read it and learn more before committing to purchase. Once you are ready, you will click the tab to the right of the screen that says “buy license” (I chose the regular license for $27). You will click “Add To Cart” and download the plugin. Once downloaded, go back into WordPress and go to plugins–>Add new–>Upload Plugin. Afterwards, you should see “Ess Grid” in the sidebar of your dashboard. You will click that and it is here that you can begin customizing the plugin.
Step 3:
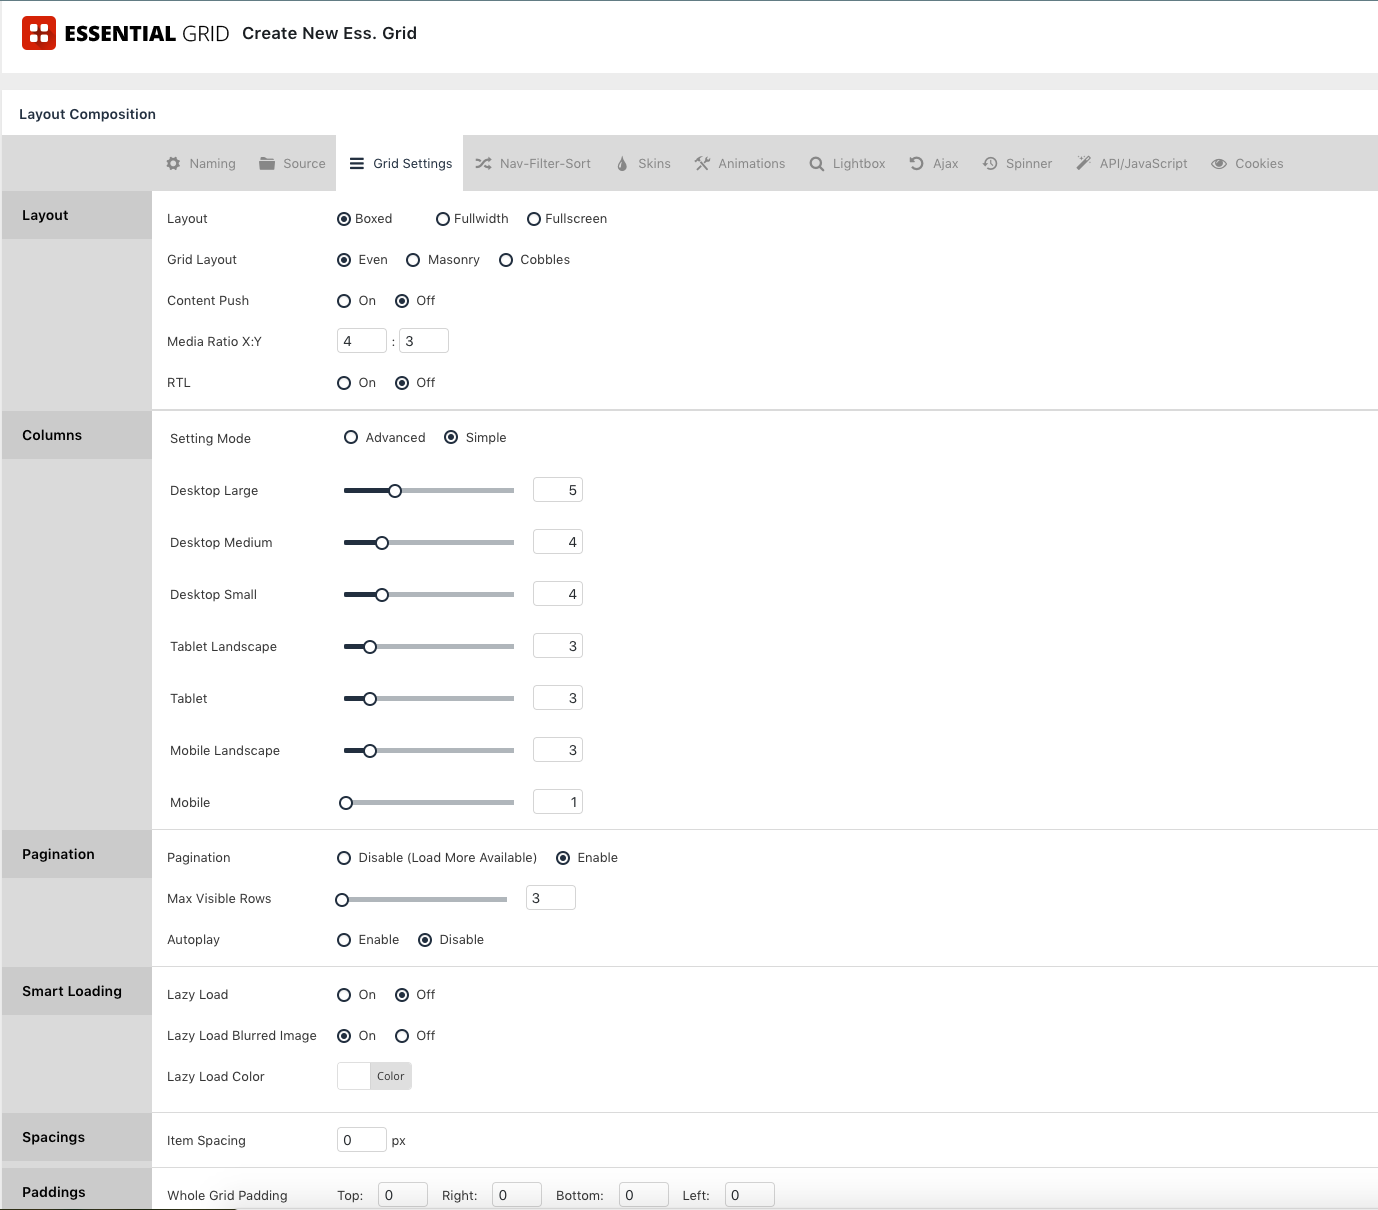
Once inside the plugin, you should see something like the picture below. As you can see, I am using this plugin in several different ways. You will click “Create New Ess. Grid” This next page looks slightly overwhelming, but I promise you won’t be using everything! Under the naming tab, you will name your grid under “title” and put the same in the “alias” section. Then click the tab that says “grid settings”. You can make these settings however you want to fit with your overall style, but I’ll show you what I keep mine at:
[Tweet “Get rid of LinkTree & get traffic to your blog with an Essential Grid Insta Links Page!”]
Step:4
The next part is rather fun! Click on the “skins” tab and select what style skin you’d like for your grid. In this case, you’re deciding how you want your insta link grid to perform. There are a few different pages to choose from, and once you’ve found one you like, select the skin. Afterwards, go to the sidebar and click “item skin editor”, find your skin, and then choose the orange picture icon on the skin to duplicate it so you still have a copy of the original. Then click the green settings icon to begin customizing your skin. You should get a screen like the following:
Step 5:
Here is where the fun begins! You can play around with how you want your grid to look, the colors, everything right here in the editor. Click through the various tabs to change the cover color, the animation style, the text, and more! You can even change the icons that appear in the layer settings section!
Step 6:
Once you are finished customizing, click “Ess. Grid” in your sidebar, and this should take you to the homepage. You should see your Essential Grid and a shortcode next to it. Copy that shortcode, and paste it wherever you would like the grid to show up in your page.
[Tweet “Get more blog traffic from Instagram with your own Instagram Links page!”]
Step 7:
To add items to your grid, simply click the green “settings” button on the homepage to begin! You should see your grid showing up underneath the layout composition. I hit duplicate every time I add new items to continue the same theme, and to rearrange your grid you can use the little arrows in the top left above the grid. After duplicating, you hit “edit element” or the green settings button. You should get a menu like the one pictured below where you can choose and image, change the description, and input a url to your blog post. Once you are finished, click the green “save grid” icon on the upper right of the screen, and head back to your WordPress page.
Step 8:
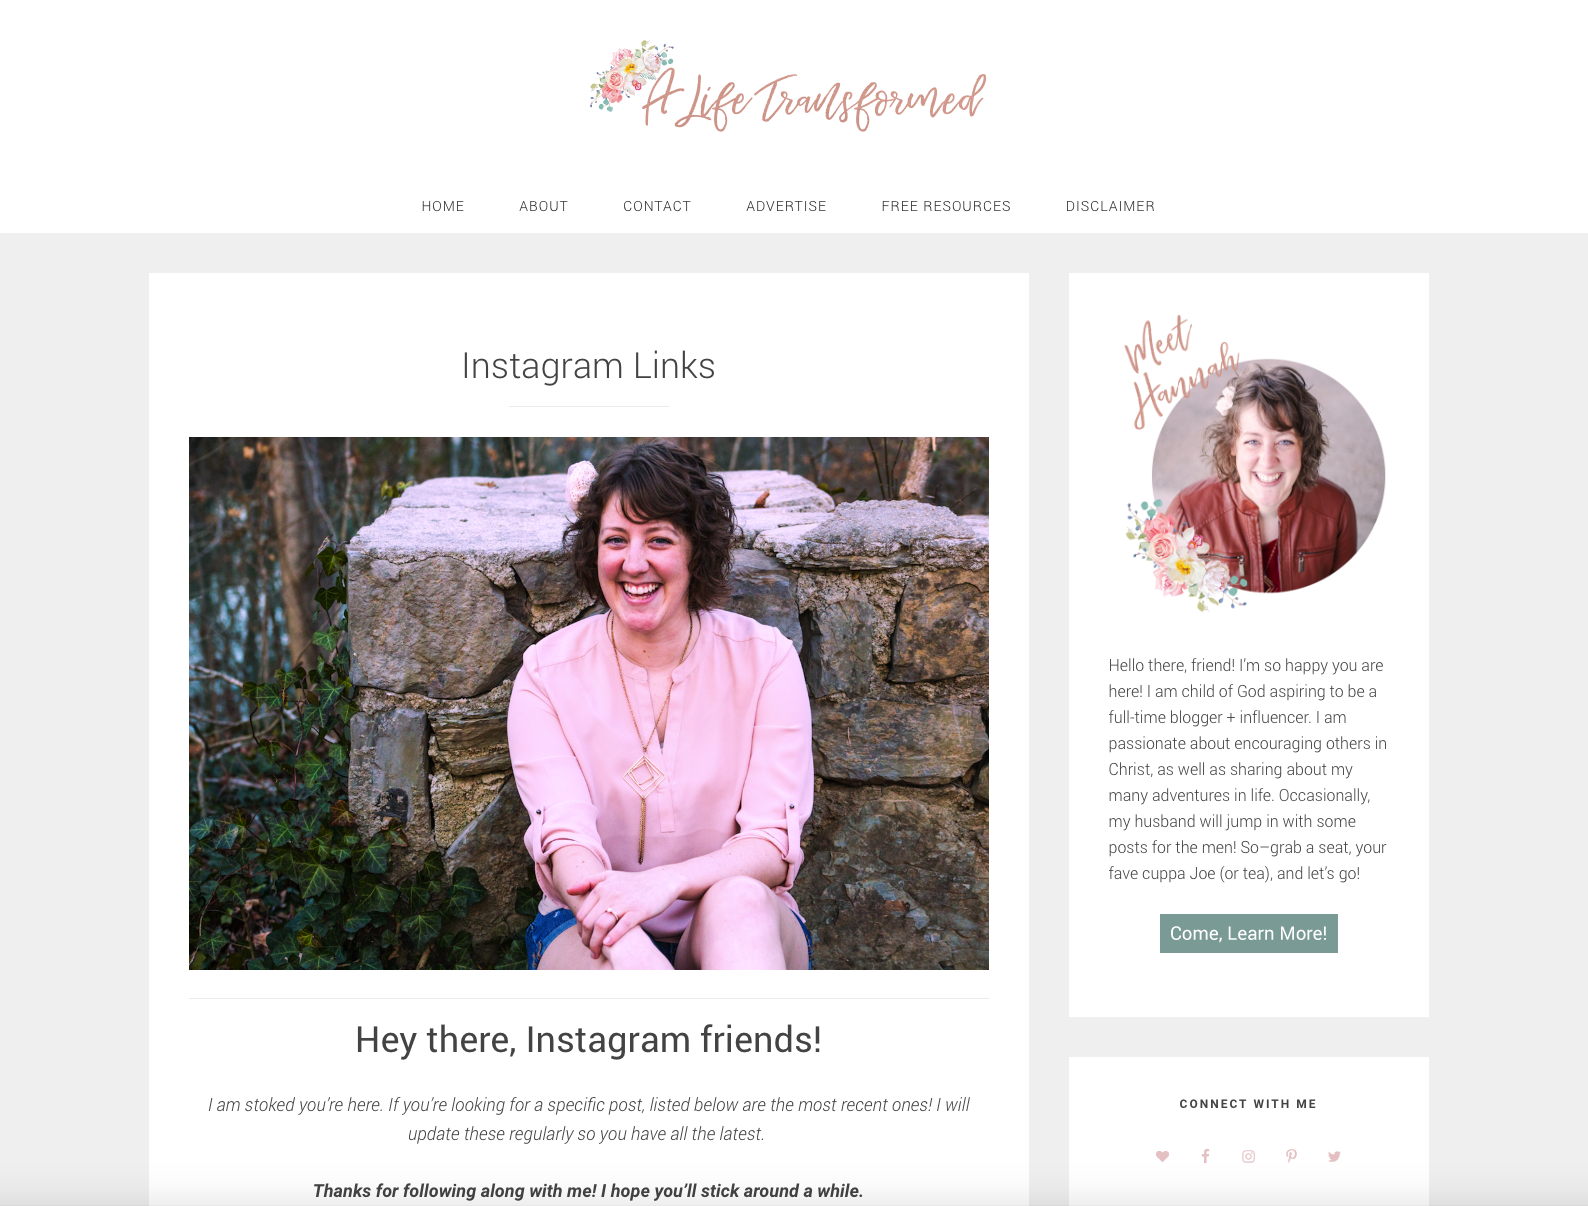
Once in your WordPress page, you can now add images, a little intro, or whatever tickles your fancy to your Instagram Links page. I kept mine pretty simple, but you can do whatever feels good to you and lets you connect with your readers. Below is what my intro looks like:
Step 9:
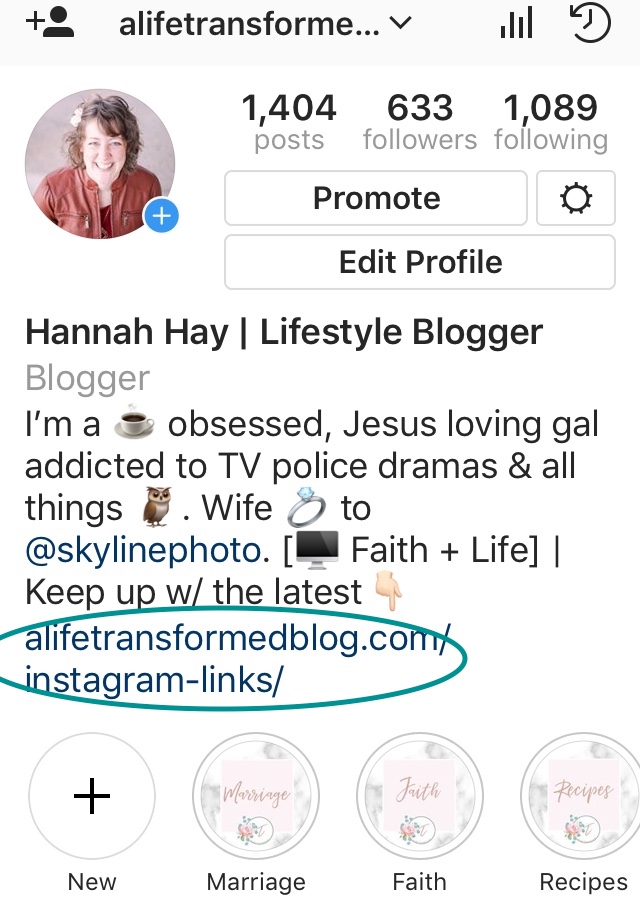
Add in that shortcode I mentioned earlier wherever you would like it on the page, and save publish your page. Once you have your page published, you can put in the permalink for your page into your Instagram bio like below, and your landing page is ready. Copy the permalink, and lets go to the ‘Gram.
Step 10:
Add in your new permalink that you just copied into your Instagram bio like below! And then let the magic happen.
Here is a short clip showing what your new Instagram Links landing page will look like when people click on your url:
I hope that this post encourages you to ditch LinkTree like I did, and get traffic back to your blog using your own Insta Landing Page! It will take a bit of work, but I promise you that the effort + small cost is so very worth it in the end.
[Tweet “Customize your Instagram Links, with a landing page! I’ll show you how! “]
Are you ready to ditch LinkTree & get more traffic to your blog? Did my post encourage you to take the leap? If you answered yes, let’s chat! Go on over to Code Canyon to get started! I can’t wait to see what you create!
We’ve discussed hosting, and today I want to bring to you 5 innovative productivity tools that will level up your productivity game. Being your own boss comes with its own set of struggles and setbacks, and productivity is one of those; at least for me. Even if you aren’t your own boss, these tools will…
Do you know what one of my favorite things about self-hosted WordPress is? It’s all the plugins. They make WordPress pretty, but are also really useful and beneficial to you and your blog. Today’s post will give you the 9 best plugins to use on your WordPress site that are equal parts nice and useful….
It’s often said that Pinterest is the best surefire way to grow when it comes to blogging, which is why today I am showing you how to use Pinterest with your blog. I remember when I first started blogging several years ago and spending hours researching how to do things because I was clueless. The…
Every day we hear people tell us as bloggers that we need to be using Pinterest to grow our business. While it is true that Pinterest is a great resource to use for growing your blog + business, I’m not here to tell you how (yet). Today, I want to scale it back a bit…
So you’ve decided to take a leap and start a blog? Yeah! What an exciting new thing you’re about to embark on. You’re probably thinking “but how do I get started?”. Well, friend, I am so glad you asked! That’s exactly what I am about to tell you so buckle up, it’s gonna be a…
Choosing a hosting service for your WordPress blog can be an overwhelming task because there’s so many services out there. If you’re just starting out, switching, or are thinking about starting a hosted WordPress blog, I’ve done the research for you. Here are some reasons why I chose Green Geeks hosting for my WordPress blog….
Shop Our Store-wide Black Friday Sale! 30% off everything!


 Here is a short clip showing what your new Instagram Links landing page will look like when people click on your url: